
The University of California, Berkeley is committed to protecting the privacy and accuracy of confidential information to the extent possible, subject to provisions of state and federal law. Other than as required by laws that guarantee public access to certain types of information, or in response to subpoenas or other legal instruments that authorize access, personal information is not actively shared. In particular, we do not re-distribute or sell personal information collected on our web servers.
Information Collected
Our web servers log the following information:
- Internet Protocol (IP) address of computer being used
- Web pages requested
- Referring web page
- Browser used
- Date and time
This website does not associate this data with individual user identities.
Cookies and Other Tracking Technologies
This website uses cookies for session maintenance: they allow us to see which pages a given user visited, but do not have any identifying information about the user.
Privacy Statement Revisions
We may change this Privacy Statement at any time and for any reason. We encourage you to review this Privacy Statement each time you visit the website. If we make a significant change to our Privacy Statement, we will post a notice on the homepage of our web site for a period of time after the change is made.
- Ubuntu-based Linux Cluster
- Microsoft-based Windows Cluster
- Kubernetes Jupyterhub-based Cluster
- Analytic Environment on Demand (AEoD) for custom Virtual Machines
- Haas maintains the following software packages
- Matlab
- SAS
- Python
- R
- C,C++,Fortran
- Julia
The Berkeley Data Lab (D-Lab) provides consulting for research applications and programming languages. Go here D-Lab Consulting to schedule a consulting appointment.
Yes, below are the basics to get you operational.
1. Getting Started with the Terminal
The terminal is where you type commands. You can open it by pressing Ctrl + Alt + T or searching for "Terminal".
user@computer:~$This prompt means:
user– your usernamecomputer– your machine’s name~– your home directory
2. Navigating the File System
pwd        # Show current directory
ls         # List files
ls -l      # Detailed list
cd /path   # Change directory
cd ..      # Go up one directory
3. Managing Files and Directories
touch file.txt       # Create a file
mkdir myfolder       # Create a directory
cp file1 file2       # Copy files
mv old new           # Move or rename files
rm file.txt          # Delete a file
rm -r folder         # Delete a folder
4. Viewing and Editing Files
cat file.txt         # Display contents
less file.txt        # Scroll through contents
nano file.txt        # Edit file (Ctrl + O = save, Ctrl + X = exit)
5. File Permissions
ls -l                # Show permissions
chmod 755 script.sh  # Change permissions
6. File Transfers with sftp
sftp username@hpc.haastech.org

# Inside SFTP:
ls            # List remote files
pwd           # Remote directory
lcd /path     # Local directory
get file.txt  # Download file
put file.txt  # Upload file
exit
7. File Transfers with scp
# Upload a file
scp localfile.txt username@hpc.haastech.org:/remote/path/

# Download a file
scp username@hpc.haastech.org:/remote/file.txt /local/path/

# Copy a directory
scp -r myfolder username@hpc.haastech.org:/remote/path/
8. Other Useful Commands
man ls      # Show manual for ls
history     # Show previous commands
clear       # Clear screen
exit        # Exit session
- MacOS ships with ssh. Many researchers, open a terminal windows and enter: ssh haas-hpc00.haas.berkeley.edu
- Windows has two main clients researchers tend to use, putty and mobaxterm, both freely downloadable. Download puTTY here: puTTY Downloads. Download MobaXTerm here: MobaXTerm Download
- Fast-X is an excellent SSH client that accelerates GUI-based applications such as XSTATA, RStudio, Spyder and others. FastX is available for Windows, MacOS, and Linux. Download here: FastX Downloads
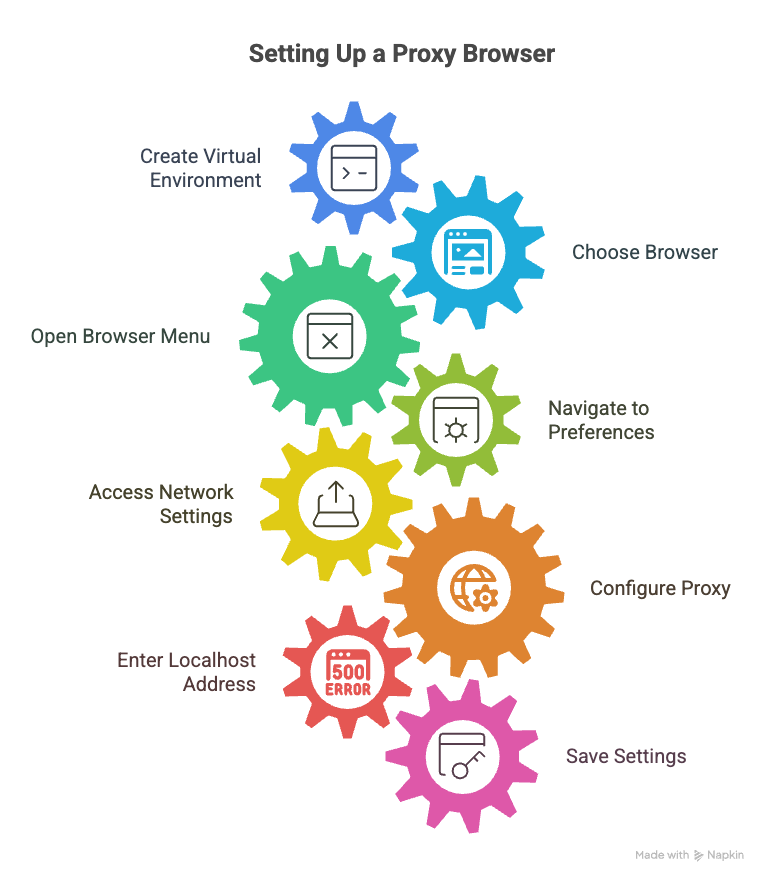
Or just go to "https://jupyter.haastech.org" and skip all the steps
or
just enter "source activate jupyter" and go to step 2
1. Create your virtual Environment: conda init bash conda create -n my_new_environment_name source activate my_new_environment_name 2. Pick a browser that you normally do not use on your computer. Some browser names are Chrome, Brave, Disenter, FireFox, Opera, Edge, etc.... This browser is going to be set up differently than your normal browsers. It is going to be set up so that it uses a "proxy". The proxy is going to be created by ssh. I chose firefox as my jupyterhub browser. After starting the browser: a. Click on the 3 horizontal lines on the upper left of the browser (often called the "hamburger") b. Click on preferences c. Click on General on the right d. Scroll to the bottom of the page e. Click on settings under network settings f. Select Manual proxy configuration g. Click on Socks Host box and enter 127.0.0.1 h. In the port box put a number in, like 3456 i. Click OK and save it. What we just did is force the browser to "surf" through localhost port 3456.
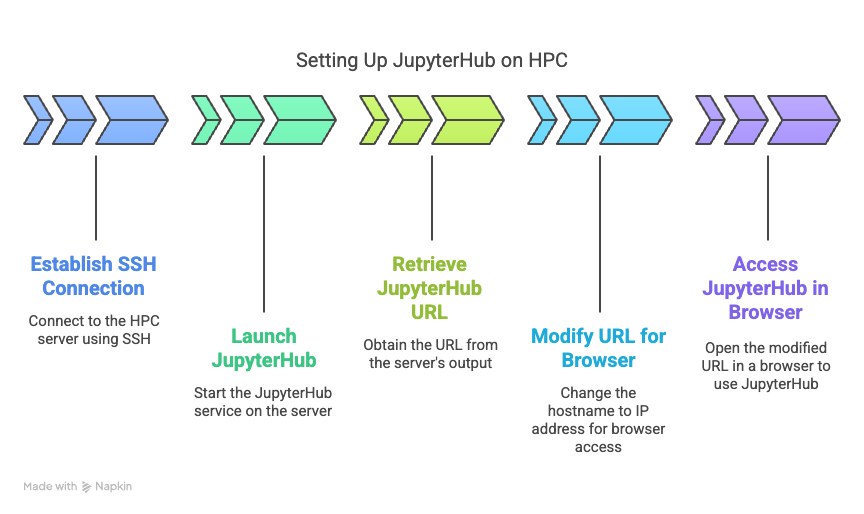
Next are the steps to launch a jupyterhub-notebook job to the cluster and use ssh to connect your local browser to the HPC computer node running jupyterhub. 1. ssh to hpc.haastech.org: ssh -C -D 3456 username@hpc.haastech.org 2. launch jupyterhub: /apps/bin/jupyterhub (make note of JobID) 3. run bpeek command after about 10 seconds waiting for jupyterhub to start: bpeek jobid Towards the bottom of the output, you will see something like this: http://haas-hpc10:2225/?token=72abceasyas1230b3b52a2220055eb1662f628e12707c5e3 4. The final step is to enter the above URL into your home browser that is being proxied. But you will run into a problem because your home computer does not know what haas-hpc10 is. From home you have to put the IP address, so haas-hpc10 becomes 10.10.10.20. Examples: haas-hpc01 becomes 10.10.10.11 haas-hpc07 becomes 10.10.10.17 haas-hpc08 becomes 10.10.10.18 haas-hpc09 becomes 10.10.10.19 haas-hpc10 becomes 10.10.10.20 So the output of the third step was: http://haas-hpc10:2225/?token=72abceasyas1230b3b52a2220055eb1662f628e12707c5e3 but you change it to this: http://10.10.10.20:2225/?token=72abceasyas1230b3b52a2220055eb1662f628e12707c5e3 5. Enjoy your custom jupyterhub! Since you are in a virtual environment, you may add custom languages and custom libraries. You can close your browser at any time and return days later and pick up where you left off.
bqueues. To submit a job to a specific queue use the bsub command with the -q option. For examples:
bsub -q Queue Name.
Yes, put the following in a file, but change the cd command, the error output file name and the console output file name.
			#!/bin/sh
			#BSUB -q special                    # Queue to submit job to
			#BSUB -n 1                         # Ask for 1 core
			#BSUB -e product_server_err.txt    # error output from script
			#BSUB -o product_server_out.txt    # console output from script
			#BSUB -Is


			#
			# Change your working folder
			#
			cd /home/tony

			#
			# run system R with my program
			#
			/apps/src/R-4.1.2/bin/R   tony.R
Then to submit the job enter this command:
bsub < scriptnameI try to use discriptive names, like R_program.bsub, but it is totally up to you.
It's really easy. In your job script, use the -n parameter.
#!/bin/sh
#BSUB -q special  # Queue to submit job to
#BSUB -n 8      # Ask for 8 cores
#BSUB -e error.txt  # Error output from script
#BSUB -o screen.txt # Console output from script
#BSUB -Is

# Change your working folder
cd $HOME

# Run system R with my program
/apps/src/R-4.1.2/bin/R my_program.R
Then, to submit the job, enter this command:
bsub < scriptname
I try to use descriptive names, like R_program.bsub, but it's totally up to you.
It's really easy. In your job script, use the -n parameter and the
-R span[ ptile=4] parameter.
#!/bin/sh
#BSUB -q special          # Queue to submit job to
#BSUB -n 8                # Ask for 8 cores
#BSUB -R "span[ptile=4]" # Number of servers to spread cores over
#BSUB -e error.txt        # Error output from script
#BSUB -o screen.txt       # Console output from script
#BSUB -Is

# Change your working folder
cd $HOME

# Run system R with my program
/apps/src/R-4.1.2/bin/R my_program.R
Then, to submit the job, enter this command:
bsub < scriptname
With the above settings you will request 4 cores on 4 servers for your code. Hopefully you are using openMPI or something similar for you code to talk to all the cores.
The FastX clients are here:
StarNet Download Site
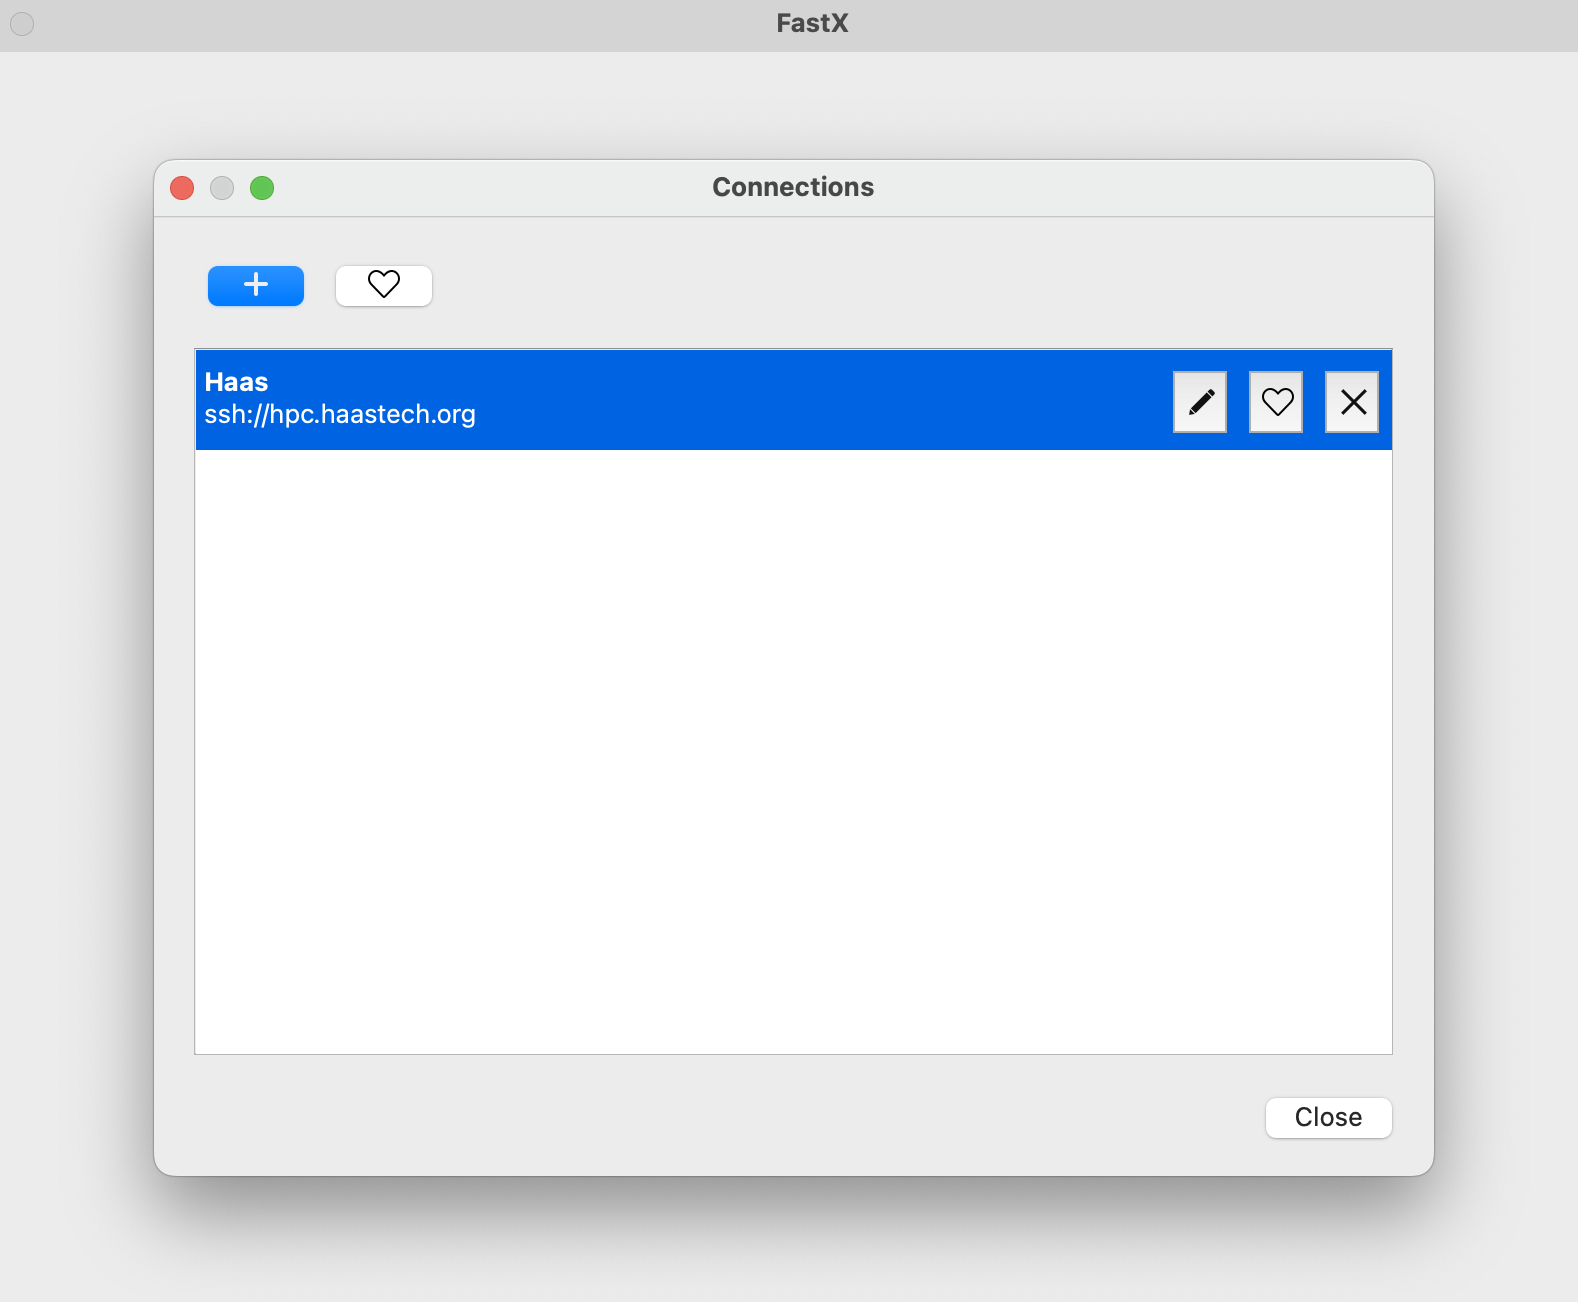
Once you have fastx installed, on startup you should see something like this:
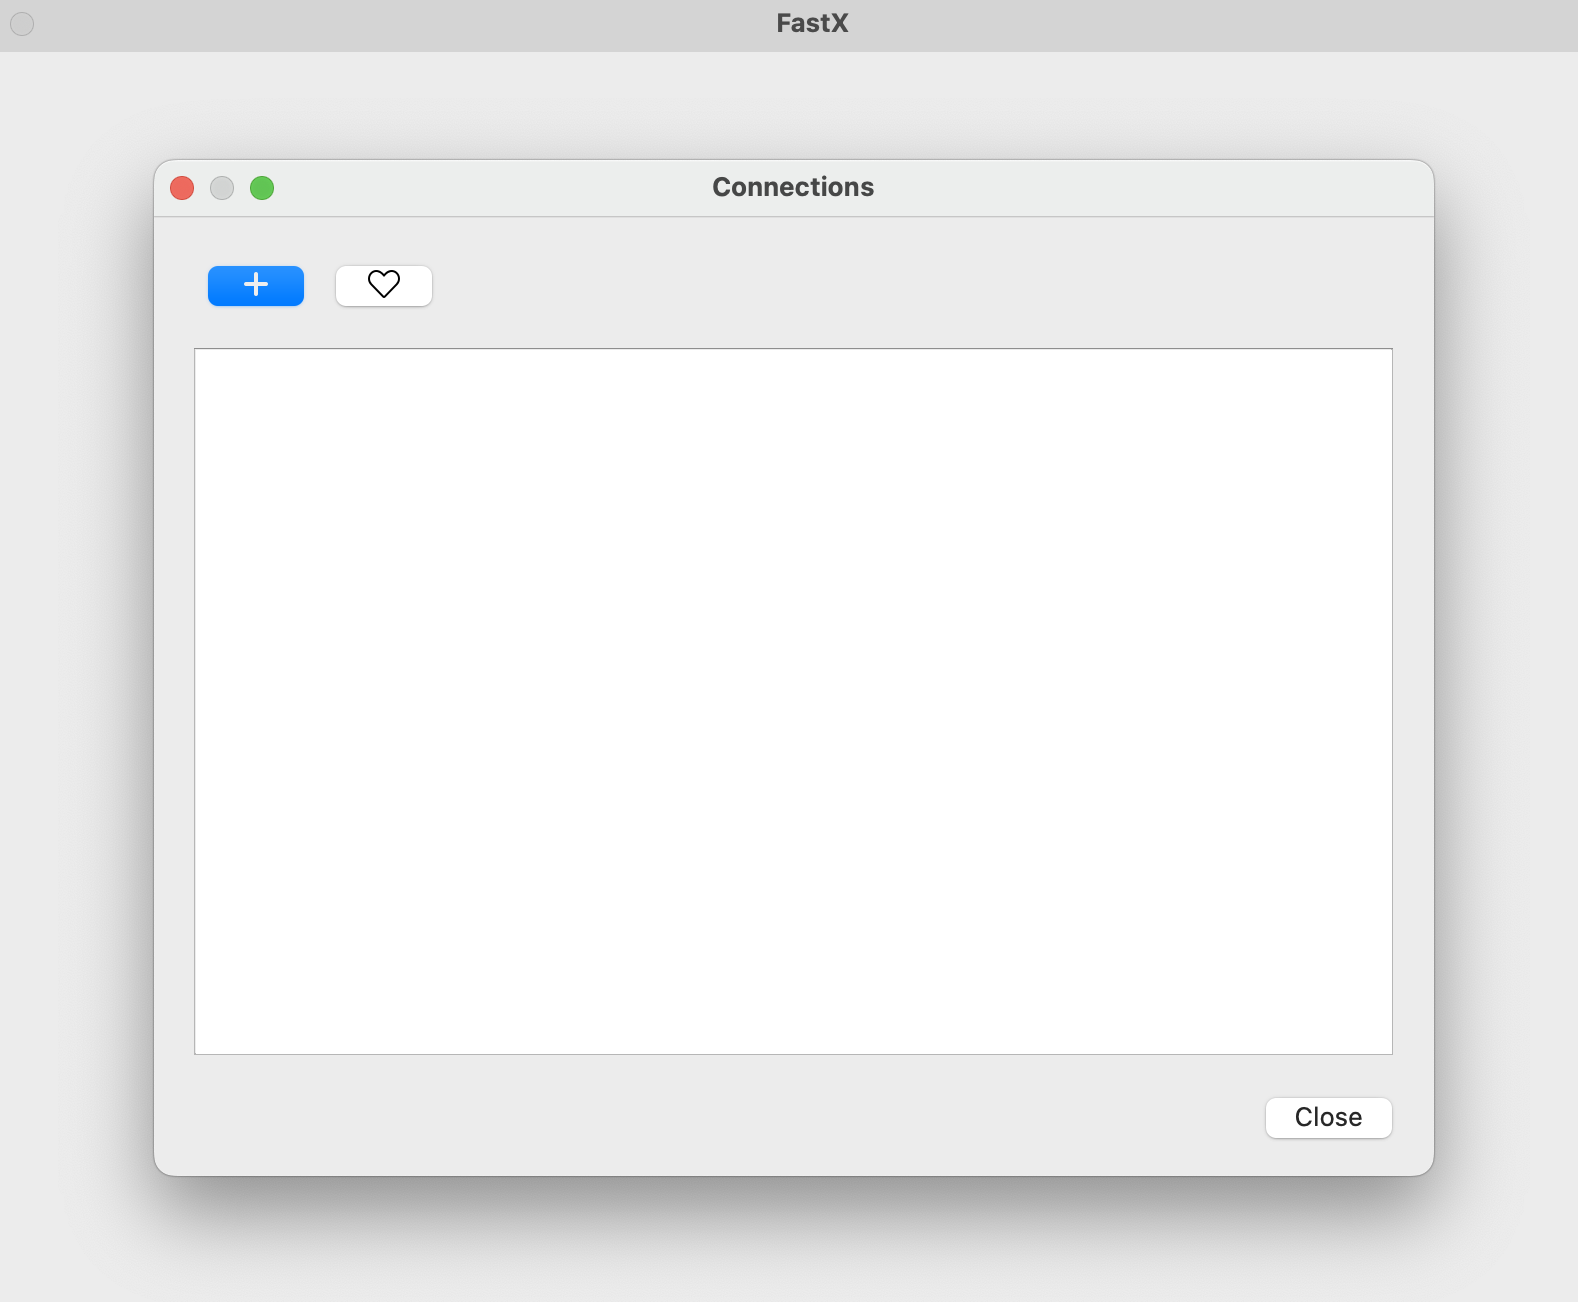
Click the + and add your information:
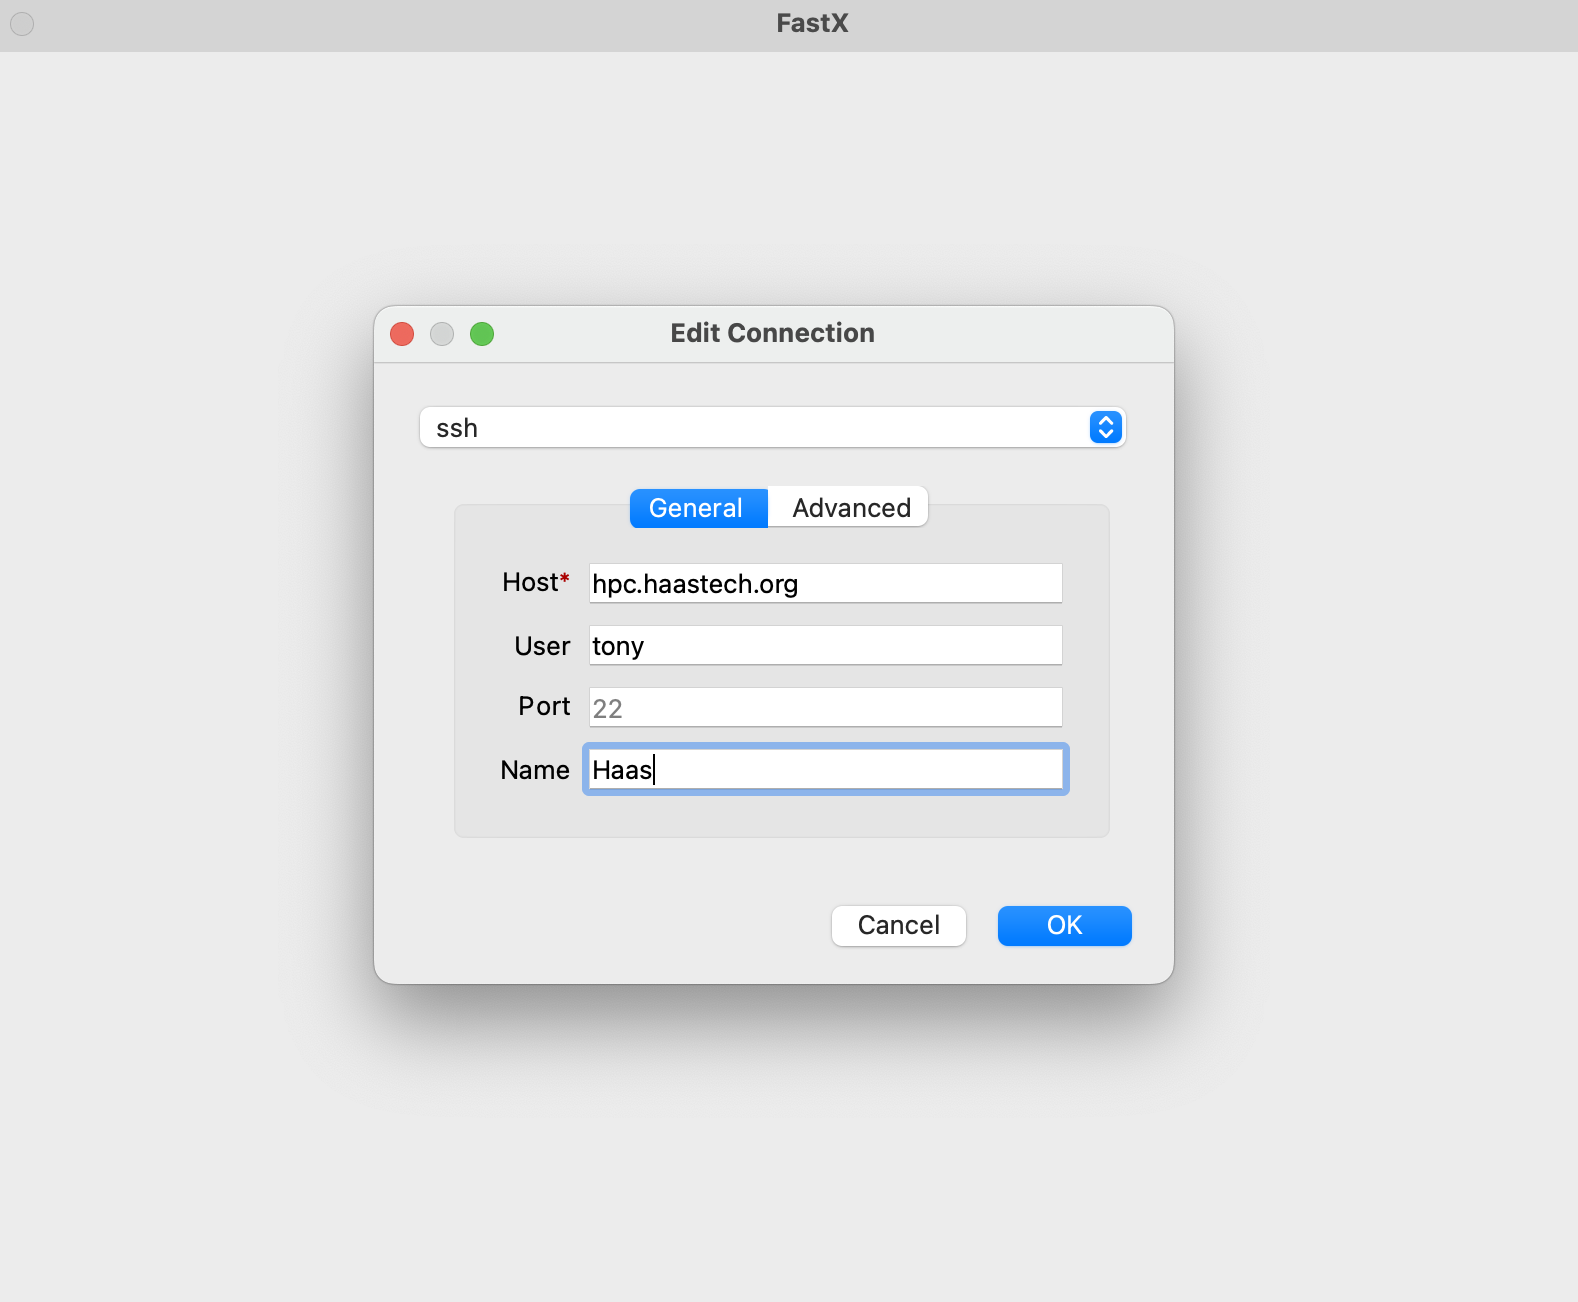
Click OK then double click on the line that shows up:
On the next screen you will see another + sign:
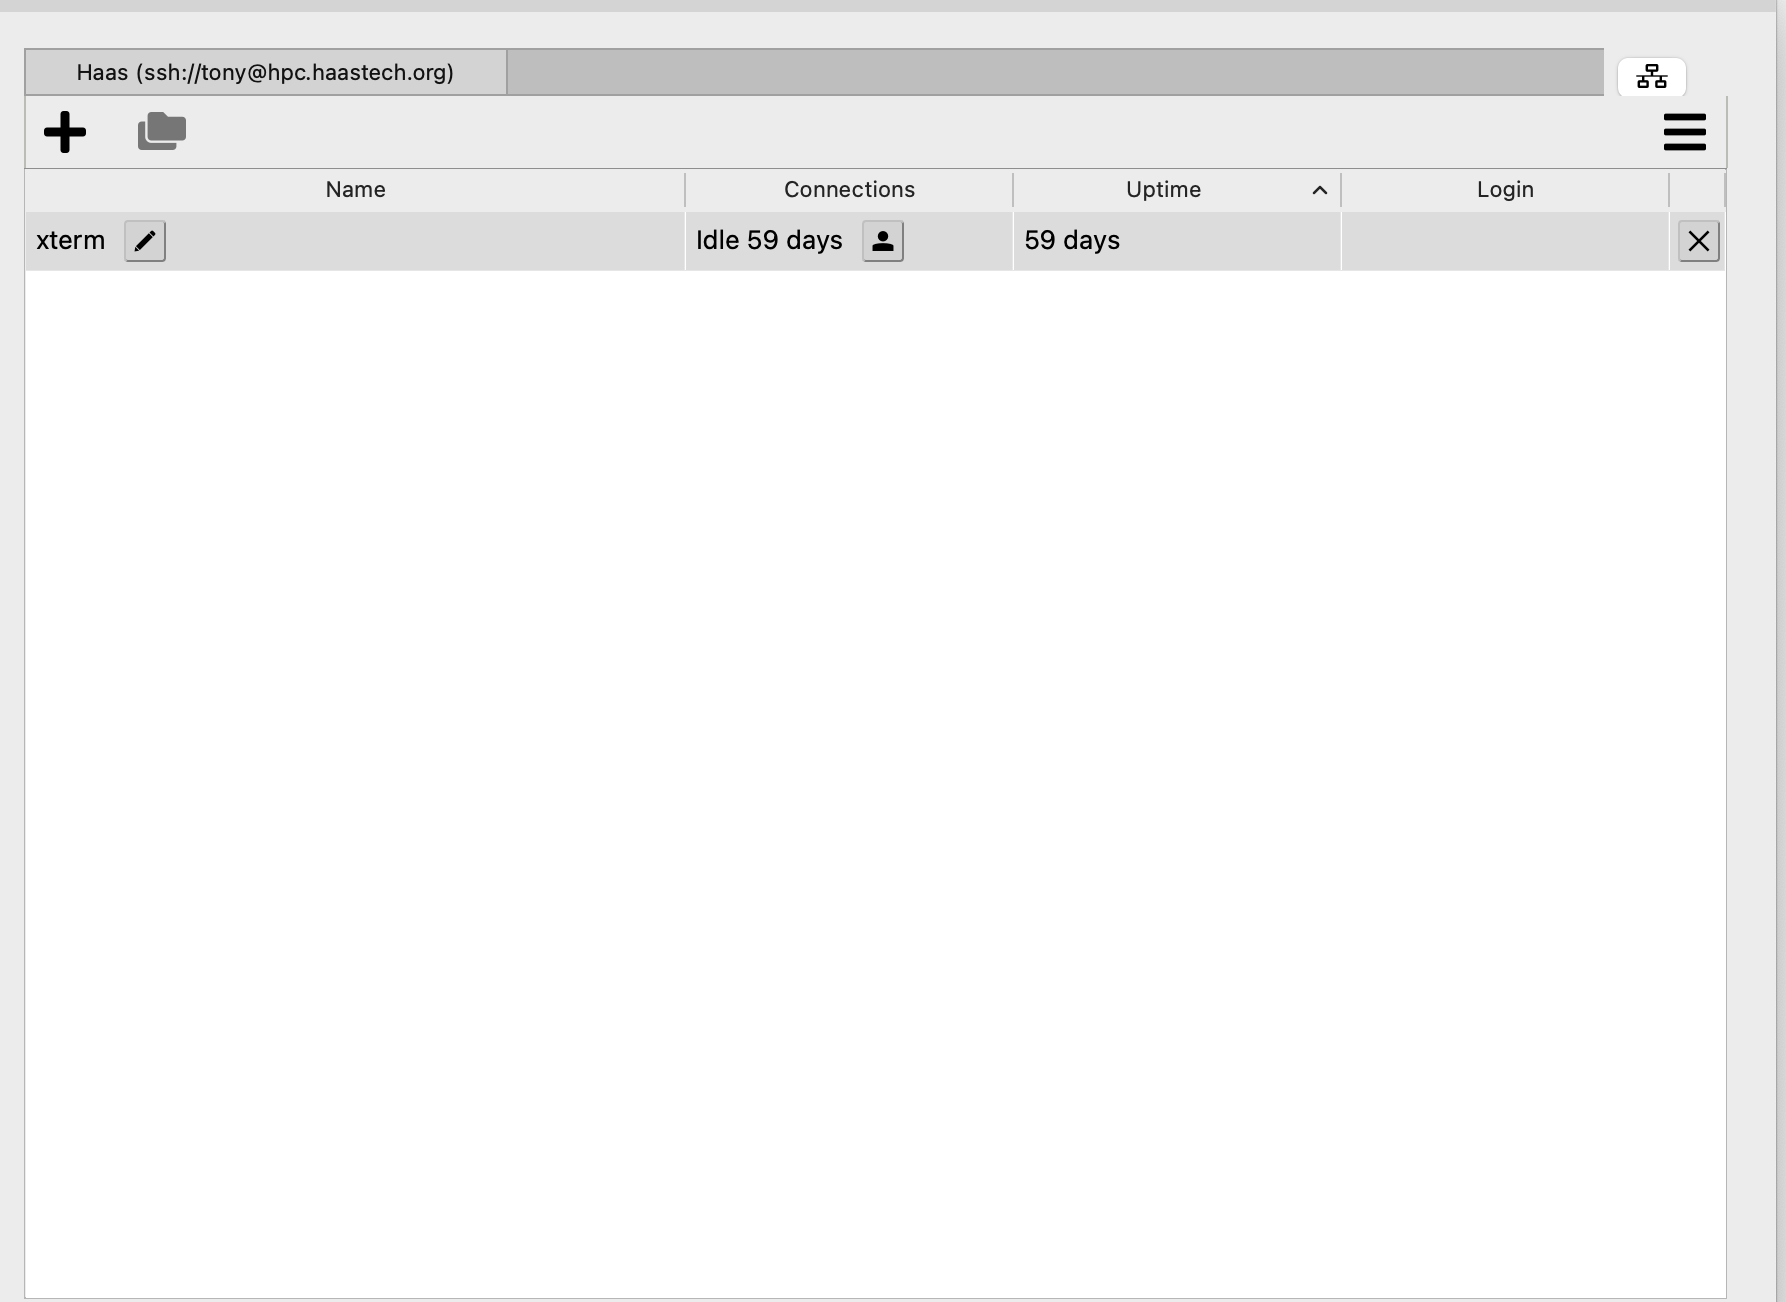
You will see:
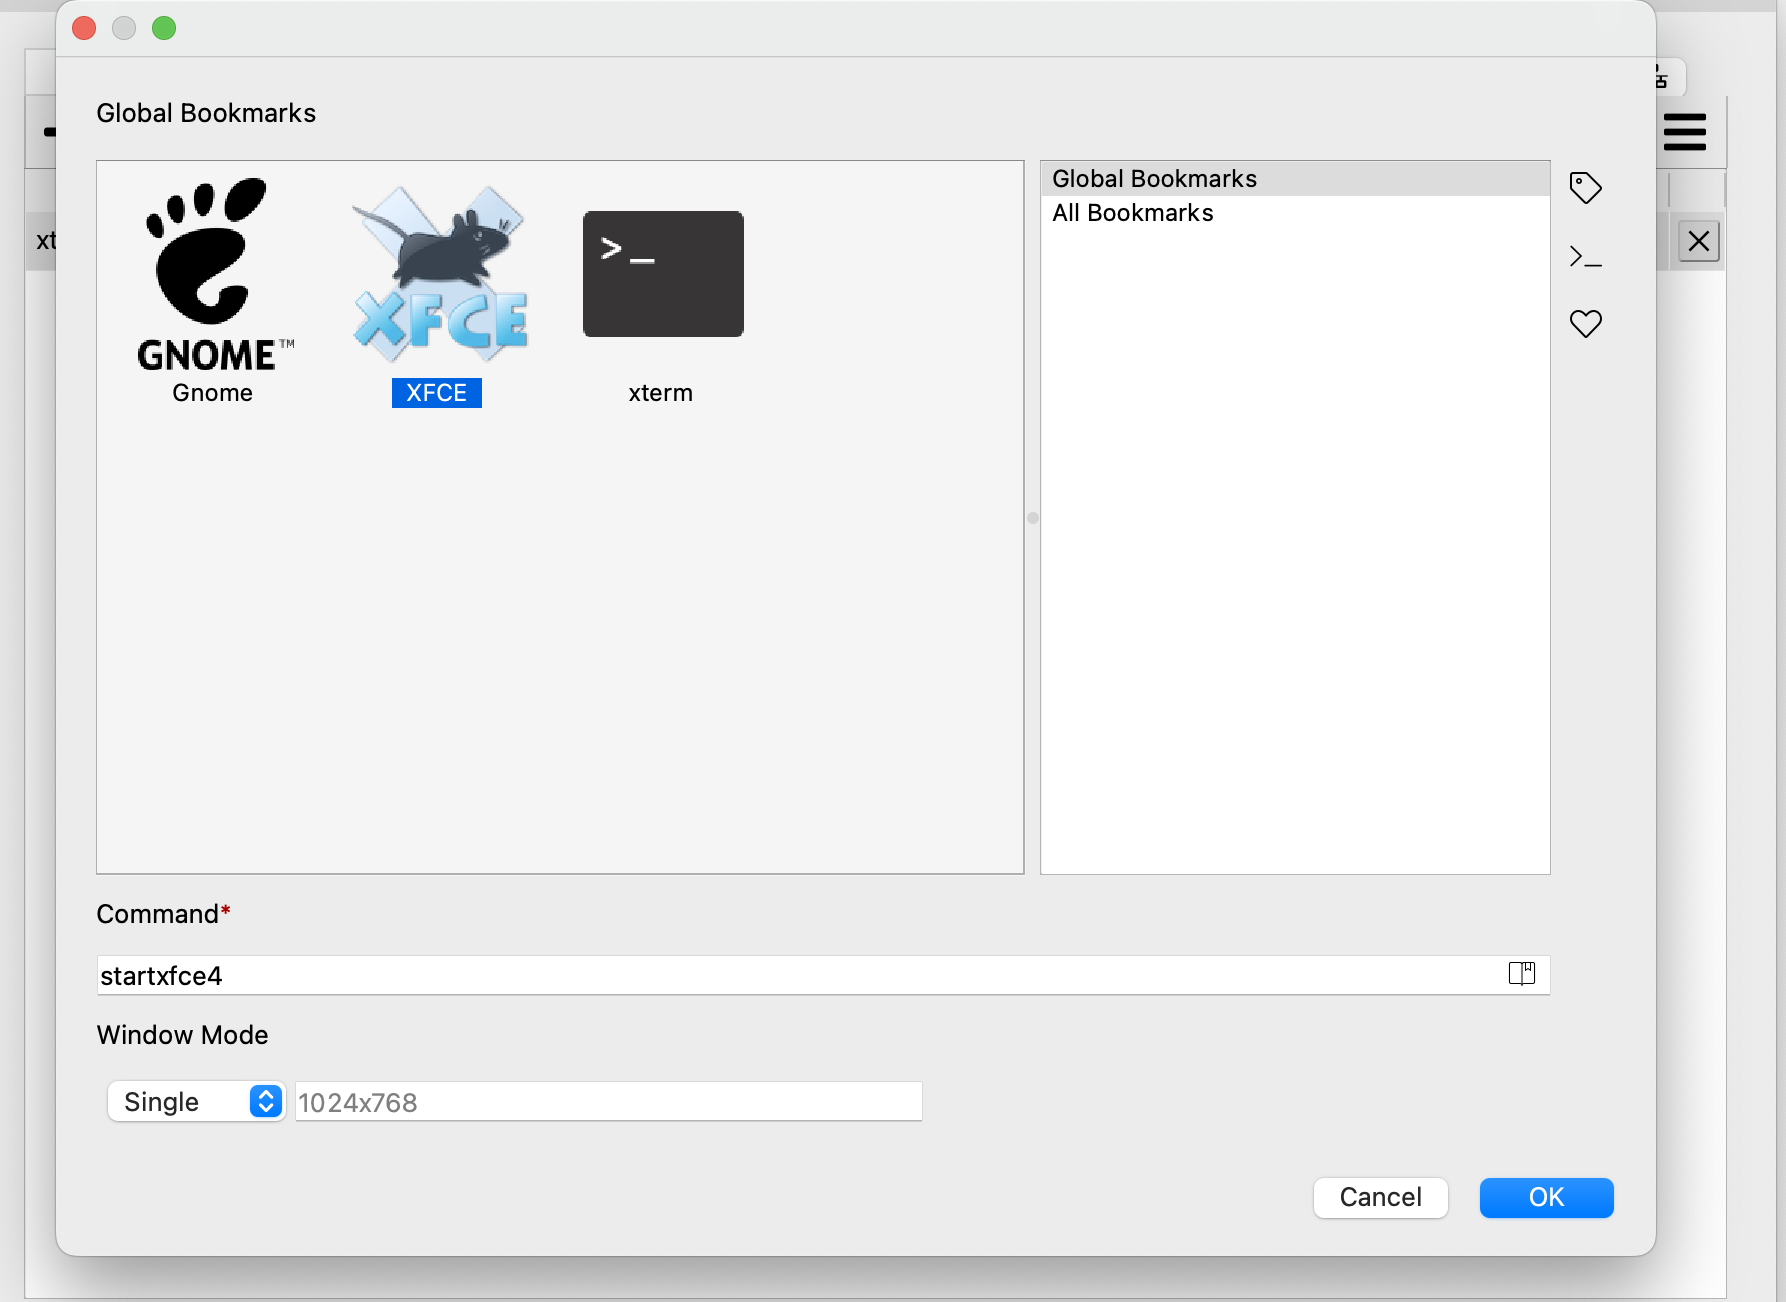
I use XFCE as my GUI.
That will get you this:
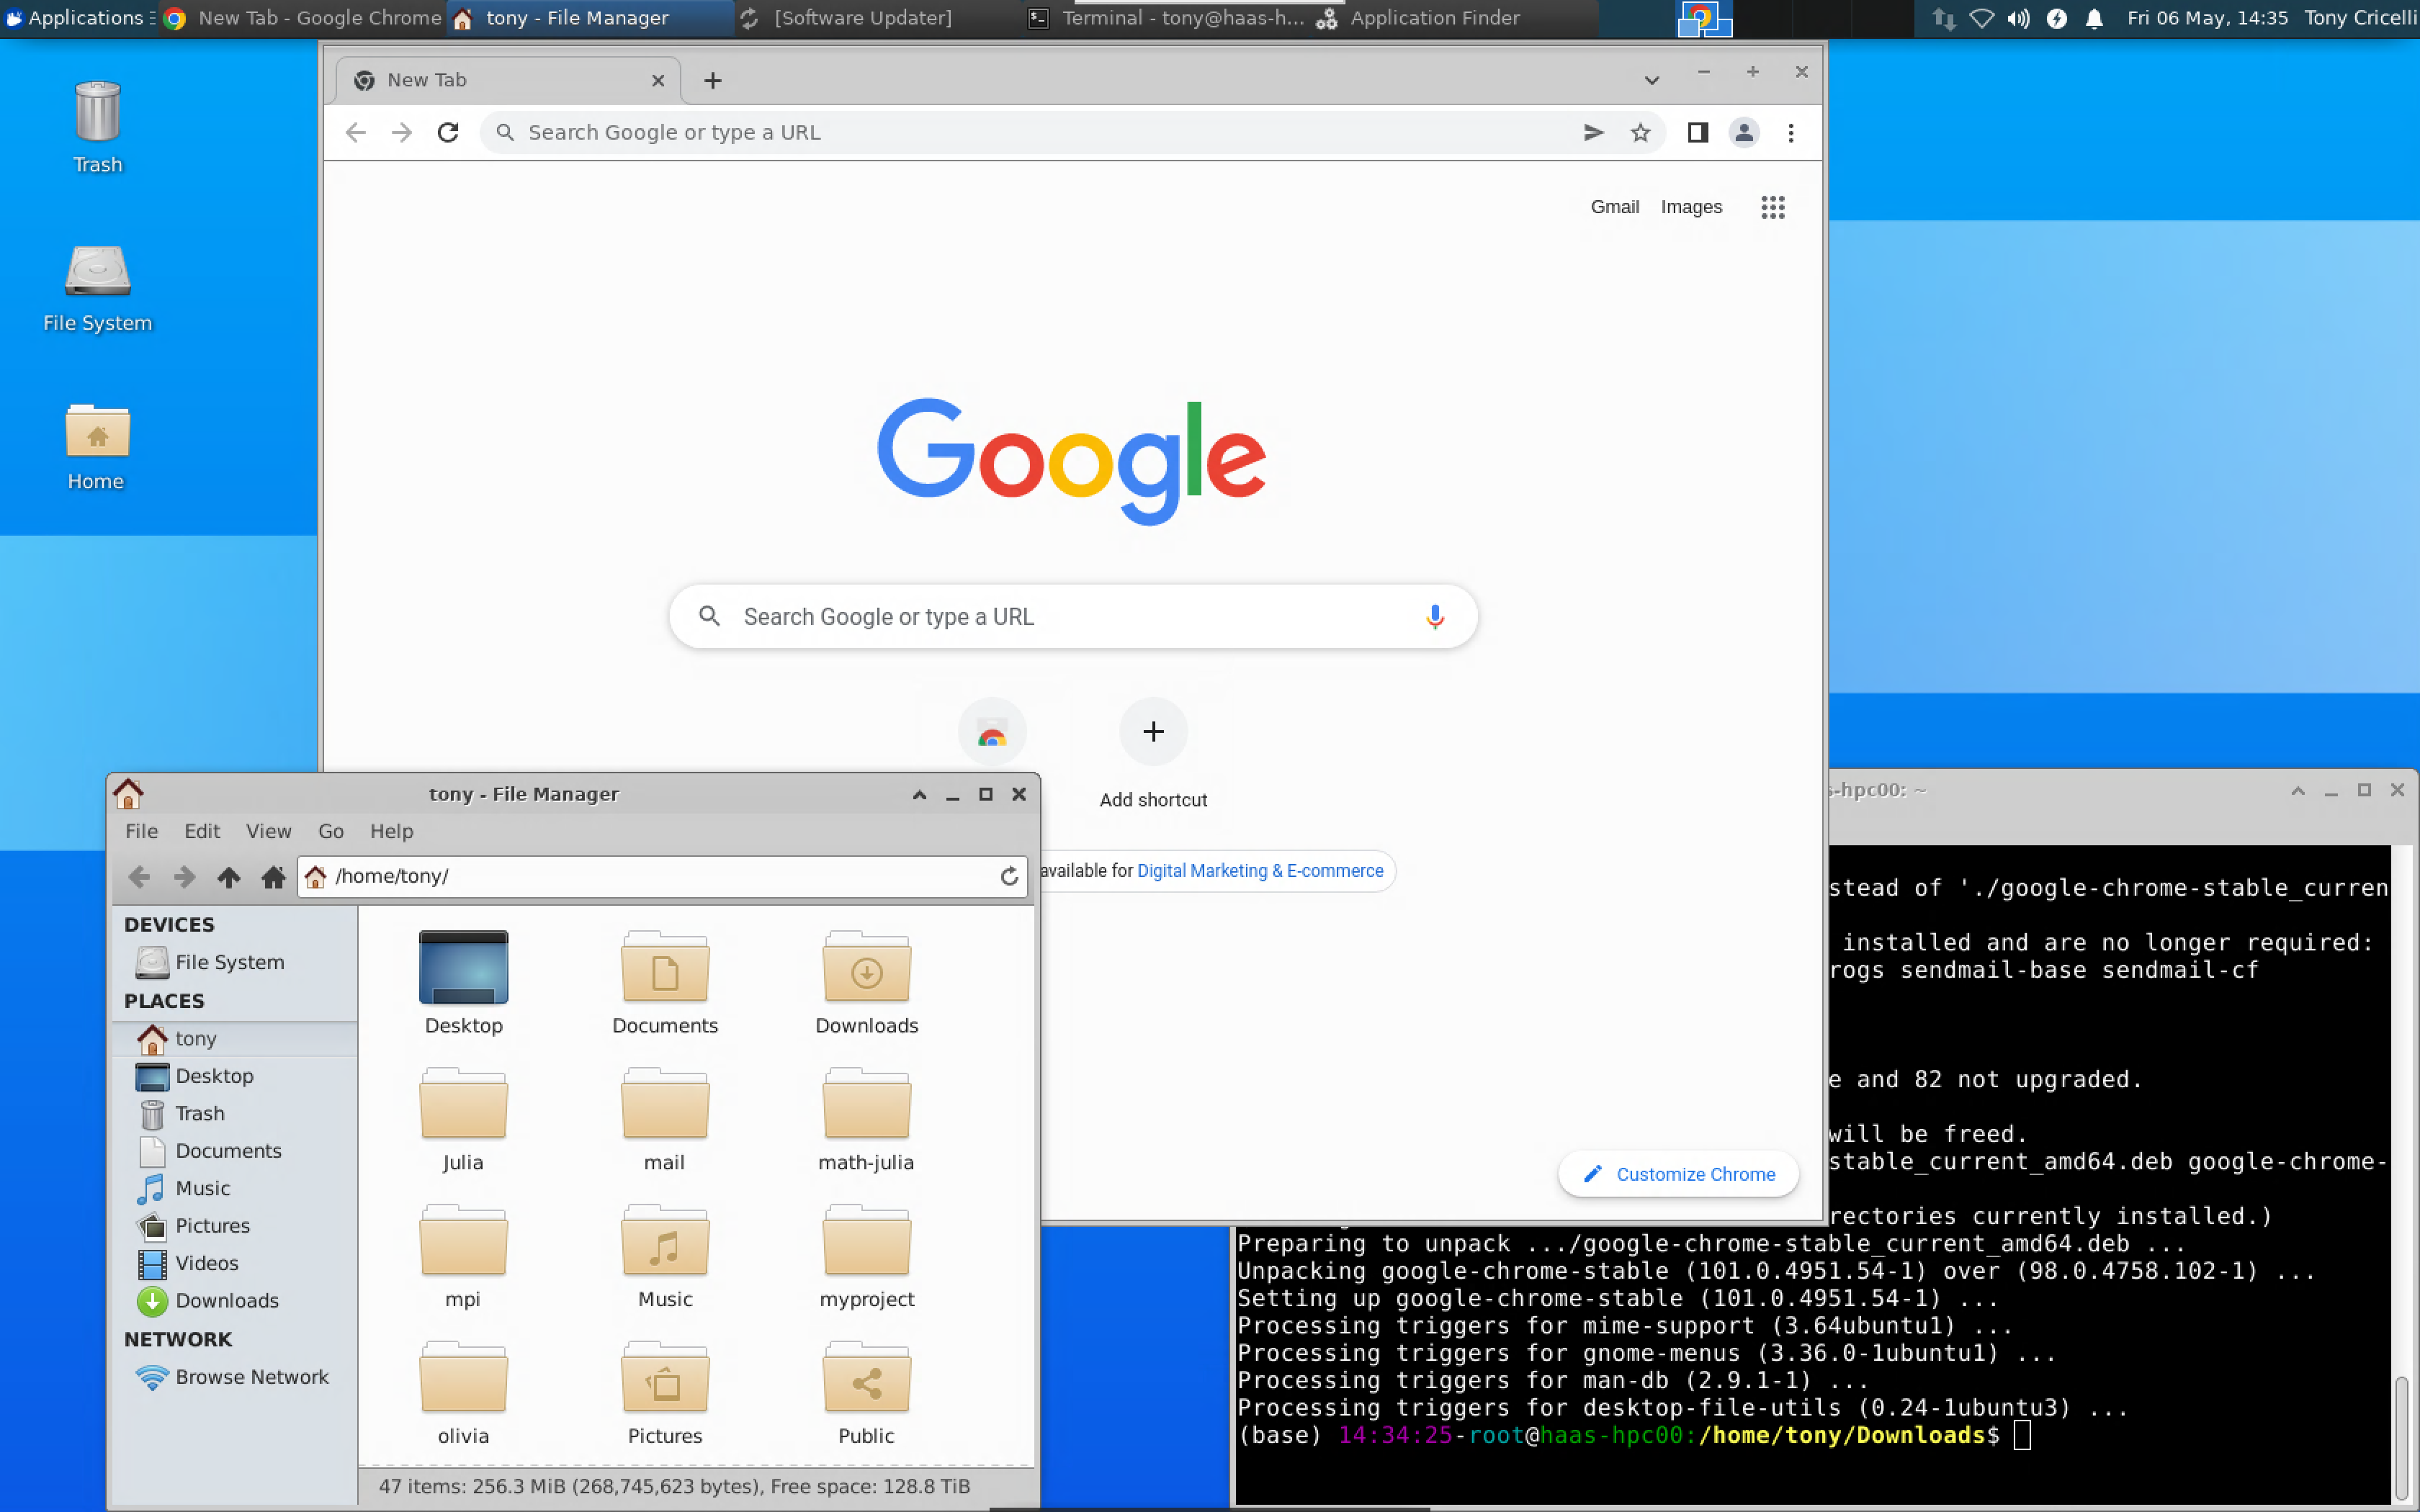
All the setup will be saved, next time you start up fastx, it will pick-up where you left off. All the above setup is done just once.
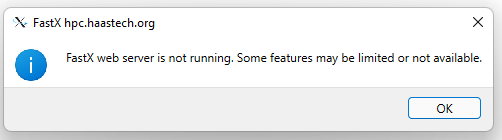
You may safely ignore this window if it pops up. We do not run the webserver part of FastX
MS Windows SSH/X11 Software (Alternative to FastX)
MobaXterm Home Edition Download Site
This program will allow you to ssh into the Haas HPC and run graphical programs from the HPC.
Easy to use, download, install and run it.
Click on ssh create a session. The DISPLAY variable will be automatically set.
IBM SPSS AMOS
IBM SPSS Statistics
MATHEMATICA
Matlab
Python
R
Rscript
SAS
STATA SE/MP